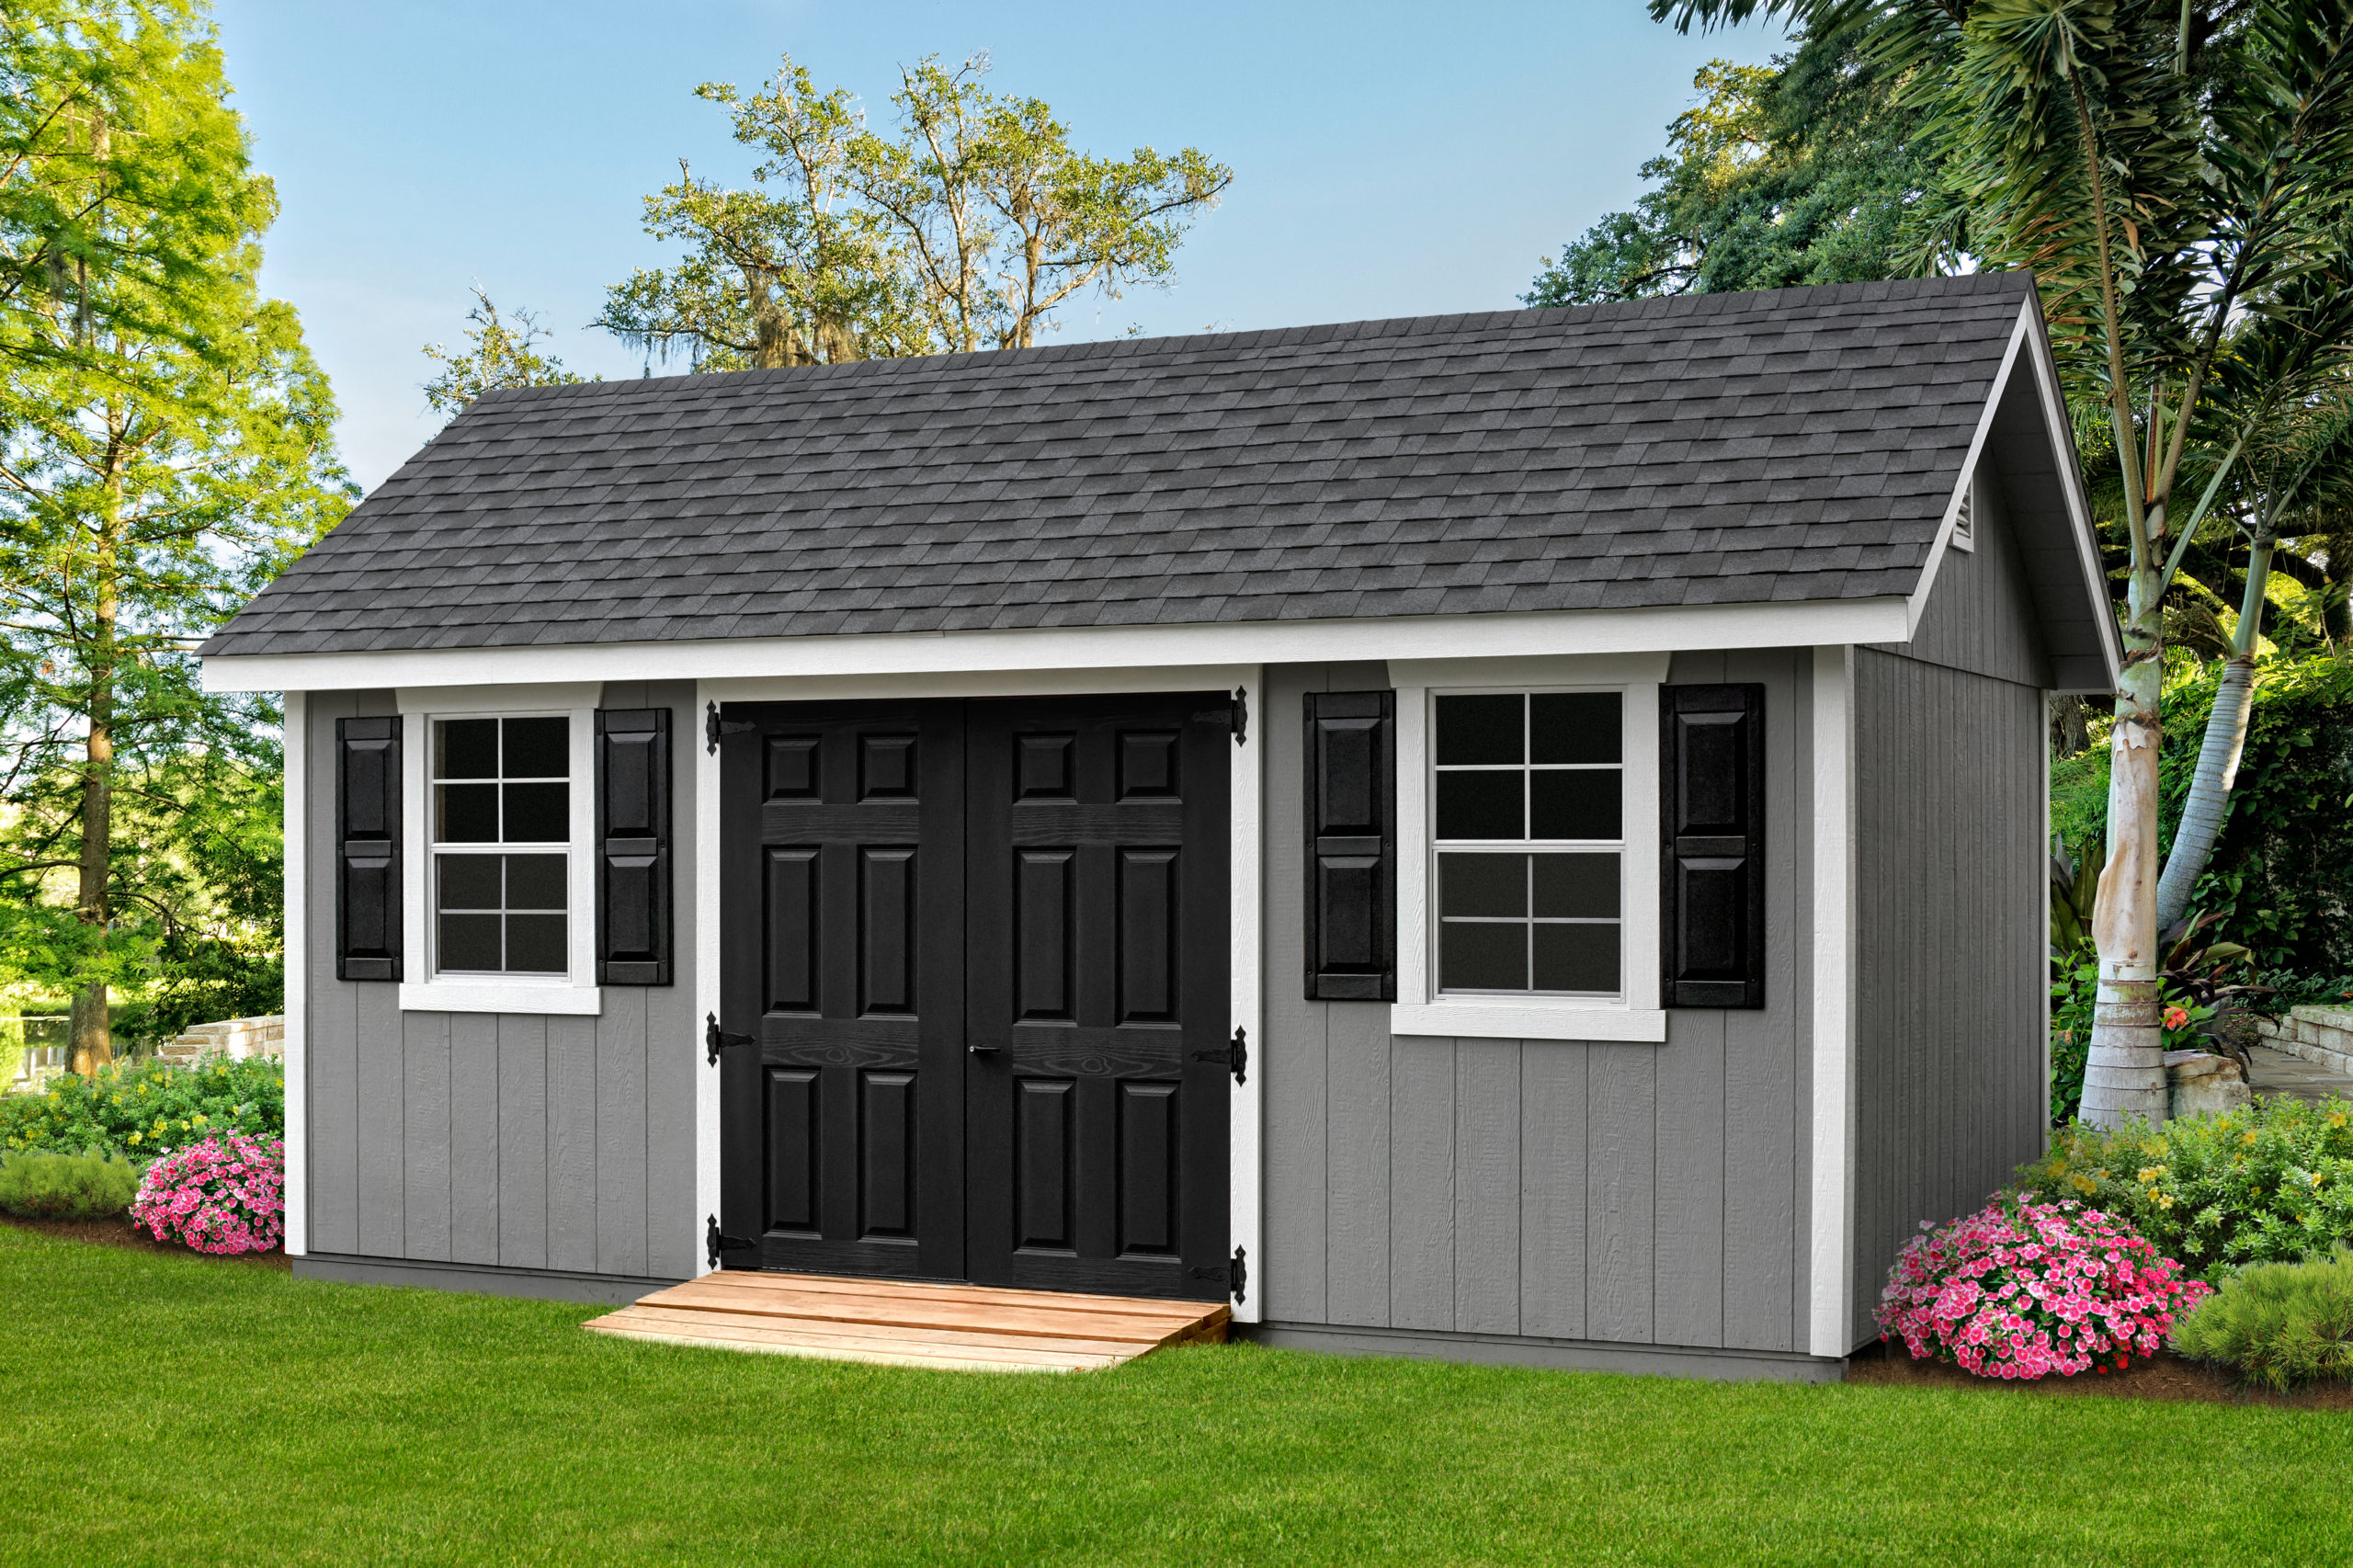
Are you excited to construct your very own DIY shed without exceeding your budget? Whether you are situated in an urban setting or blessed with a spacious yard, this step-by-step guide is here to assist you in crafting a shed that perfectly aligns with your requirements and location. We've got you covered with a variety of shed models, ensuring your build is a resounding success that caters to your lifestyle and financial constraints.
Creating a Budget-Friendly DIY Shed: A Step-by-Step Approach
1. Planning and Design
Effective planning and thoughtful design are the cornerstones of a successful budget-conscious shed project. Begin by evaluating your specific needs for the shed, whether it is additional storage space, a workshop, or a sanctuary for your hobbies. By clarifying the intended purpose, you can determine the optimal size and layout, minimizing unnecessary expenditures. Outline the shed's design, paying attention to practical aspects like door and window placements to ensure ample light and ventilation. Embrace cost-effective construction techniques, such as straightforward roof designs and standard dimensions, to minimize material wastage and costs.
When considering cost-effective construction, opt for uncomplicated shed designs that do not require intricate angles or specialized tools. A rectangular or square shape with a single-pitched roof is not only simpler to build but also kinder on your wallet. Moreover, explore the use of salvaged materials, like old doors, windows, or reclaimed lumber, to add a distinctive touch to your shed while saving on costs.
For those seeking an even more streamlined and budget-friendly option, DIY shed kits present an attractive solution. Shed kits typically come with pre-cut and pre-measured materials, accompanied by detailed instructions. These kits are especially helpful for beginners, offering various sizes and styles to suit your preferences and budget. While DIY shed kits may involve a slightly higher initial cost, they can ultimately save you time and effort, translating into potential cost savings.
*Bonus Tip: Before purchasing materials or embarking on construction, consult local authorities regarding building permits and regulations. Complying with local codes is essential to prevent potential fines or delays during the building process.
2. Acquiring Materials
Opt for pressure-treated lumber, which provides durability and resistance to decay at a more affordable price compared to premium lumber. Salvaged or reclaimed materials can serve as excellent choices for siding, roofing, and finishing touches, infusing your shed with character while trimming expenses. Explore local classifieds, online marketplaces, or salvage yards to discover discounted or secondhand building supplies. Furthermore, consider reaching out to friends, family, or local community groups – they might possess unused materials they would be willing to contribute. Demonstrating resourcefulness in material sourcing can significantly contribute to cost-effectiveness.
Here is a checklist of basic tools essential for shed construction:
- Measuring tape and level for precise measurements
- Circular saw or hand saw for cutting lumber
- Power drill with various bits for drilling holes and driving screws
- Hammer and nails for traditional fastening
- Screwdriver for assembling components
- Safety equipment (gloves, safety glasses, ear protection) for construction safety
- Ladder for accessing higher areas during the build
- Carpenter's square for ensuring accurate angles
Equipping yourself with these essential tools will empower you to handle construction efficiently and avoid costly interruptions or last-minute trips to the hardware store.
3. Preparing the Site
Commence by selecting a level area with proper drainage to avert water pooling around the shed. Clear the site of debris, rocks, or vegetation that might hinder construction. In case the ground is uneven, utilize a shovel or rent a plate compactor to achieve a level surface. Establishing a base or foundation is pivotal, elevating the shed above the ground to safeguard it against moisture. For budget-friendly alternatives, contemplate a gravel or concrete block base, which necessitates less material and labor compared to a complete concrete slab. Adhere to local building codes and regulations concerning setbacks and property boundaries.
Before construction, ensure to identify the location of local utility lines and mark them to prevent accidental damage during excavation. Additionally, think about incorporating landscaping fabric beneath the foundation to prevent weed growth and enhance drainage. If your site is prone to heavy rainfall or flooding, contemplate constructing a raised platform or using pressure-treated lumber for the foundation, safeguarding the shed against moisture. Meticulous site preparation establishes a stable foundation for the shed while averting potential issues and costly repairs in the future.
4. Constructing the Foundation
Depending on your budget and site conditions, a range of cost-effective foundation options is available. Among the simplest and budget-friendly choices are concrete blocks or pressure-treated lumber piers, elevating the shed above ground level to thwart direct contact with soil and moisture. Alternatively, a gravel foundation, consisting of compacted gravel or crushed stone, offers solid drainage and stability. Adhere to the shed's design and local building codes to ascertain the number and arrangement of piers or gravel pads. Once the foundation is in position, double-check its levelness and stability before proceeding to subsequent stages.
Consider integrating cross-bracing or additional support beams to reinforce the foundation's stability, particularly if your region experiences strong winds or seismic activity. If employing concrete blocks as piers, guarantee their evenness and uniform spacing to distribute the shed's weight uniformly. For gravel foundations, it's imperative to establish a robust and well-compacted base to avert sinking or shifting over time.
5. Constructing the Frame
The frame functions as the backbone of your shed, furnishing structural support and influencing the overall strength of the structure. Employ pressure-treated lumber or other cost-effective materials for framing components like joists, studs, and beams. Ensure the frame adheres to the shed's design and dimensions precisely and confirm that all connections are secure. Cut the lumber with precision in accordance with your measurements and unite the elements using nails, screws, or appropriate hardware. Verify that the frame is both square and level to prevent any future structural challenges.
For those new to carpentry, exercise care when measuring and cutting lumber to guarantee precise dimensions. Implement a carpenter's square to verify right angles and think about measuring diagonally to confirm the frame's squareness. Additionally, opting for galvanized or weather-resistant fasteners will enhance the frame's endurance and shield it from rust or corrosion.
6. Installing Roofing and Siding
When selecting roofing and siding materials for your budget-conscious shed, prioritize options that provide durability without exceeding your financial limits. Asphalt shingles represent an affordable roofing solution, delivering adequate protection against the elements. Similarly, metal roofing constitutes another budget-friendly alternative offering extended longevity and straightforward installation. For siding, T1-11 plywood, or oriented strand board (OSB) present economical choices that can be painted or stained for enhanced protection and aesthetic appeal. Alternatively, contemplate the use of salvaged materials or repurposed wood to fashion an exterior that exudes rustic charm without straining your budget. During installation, pay attention to weatherproofing and sealing to ensure your shed remains dry and impervious to moisture.
To maximize cost savings, contemplate a blend of new and salvaged materials for both roofing and siding. Explore local salvage yards or building material recycling centers for discounted or reclaimed materials suitable for your shed. Additionally, integrate weather-resistant barriers like roofing felt or house wrap beneath the roofing and siding to amplify protection against moisture and drafts.
7. Adding Doors and Windows
When considering doors, explore economical options such as pre-hung exterior doors or repurposed doors from other projects. For windows, single pane or salvaged windows can prove more budget-friendly compared to high-end, energy-efficient models. During installation, apply weather stripping and proper sealing around doors and windows to minimize air leakage and optimize energy efficiency. Furthermore, strategically position doors and windows to harness natural light and ventilation within the shed.
In the case of salvaged doors or windows, ensure their quality and confirm they provide adequate security and insulation for the shed. Applying a fresh coat of paint or stain can rejuvenate their appearance and extend their lifespan. To augment security, contemplate installing simple and budget-friendly locking mechanisms or latches on doors and windows.
8. Finishing Touches and Interior
Complete your shed's aesthetic with trim and moldings to conceal exposed edges and cultivate a refined appearance. Shield the exterior from the elements and forestall premature degradation by applying a weather-resistant paint or stain. To beautify the interior, consider employing leftover or salvaged materials for finishing touches – reclaimed wood for shelving or repurposed cabinets for storage. Organize the interior to optimize space and practicality, supplementing the layout with hooks, pegboards, or wall-mounted racks to keep tools and equipment arranged. Incorporating adequate lighting, whether via natural light from windows or cost-effective LED fixtures, guarantees a well-illuminated and functional workspace.
For additional savings, brainstorm creative DIY solutions for shelving and storage. Transform old crates, pallets, or cinder blocks into personalized storage units. Additionally, reflect on utilizing recycled materials or budget-friendly substitutes for flooring, such as gravel or rubber mats, to create a comfortable and economical surface.
9. Safety and Security
Engage in regular inspections of the shed to identify any structural issues, such as loose nails or deteriorating wood, and promptly address them to prevent further deterioration. In regions prone to extreme weather, contemplate bolstering stability by installing hurricane straps or anchors. Secure doors and windows with budget-friendly locks or latches to discourage potential intruders and safeguard your possessions. If your area faces pest concerns, employ weather stripping and sealants to seal gaps and block potential entry points.
Incorporate additional safety precautions such as smoke alarms or fire extinguishers, particularly if the shed is destined for activities involving heat or flammable materials. For sheds with electrical outlets or wiring, ensure proper installation adhering to code standards to prevent potential fire hazards.