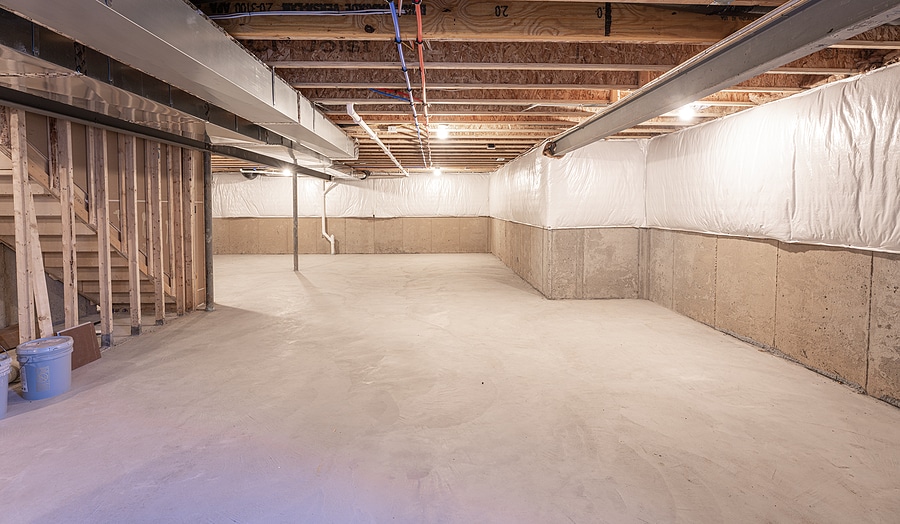
Are you considering finishing your basement but unsure where to start? This step-by-step guide will walk you through the process and help you make the most of your space.
Transforming your basement can significantly enhance your home's usable area, offering possibilities for an additional bedroom, family room, home office, or even a laundry space. While remodeling costs vary based on size and layout, envisioning the potential of this underutilized area makes it a worthwhile investment.
Why Finish Your Basement?
If you have an unfinished basement, you have the opportunity to gain valuable space affordably. The National Association of Realtors (NAR) Remodeling Impact Report suggests that homeowners can recover approximately 64% of basement finishing costs when selling their home. This makes basement finishing an appealing project, as it not only increases your living area but can also boost your home's value.
Using exceptional framing and insulation techniques, you can create a comfortable basement that feels like any other room in your home. While this is a significant project, understanding the costs and factors involved is essential. Continue reading for a step-by-step guide to help you navigate the process.
Step 1: Tools Needed
Before you dive into the project, you will need to gather the appropriate tools and materials based on the size of your basement. Here is what you’ll need:
- Safety Gear
- Ladder
- Hammer
- Level
- Tape Measure
- Caulk Gun
- Masonry Drill
- Circular Saw
- Nail Gun
- Utility Knife
- Boards
- Foam Insulation
- Framing Nails
- Wall Screws
- Cement Nails
- Adhesive
- Ceiling Tiles
- Flooring Materials
Step 2: Plan and Prepare
Planning
A successful basement renovation begins with a well-thought-out plan. Consider the structural integrity of your existing basement, budget, time, local building codes, and potential electrical and plumbing needs. Never start a project without a comprehensive plan in place.
Permits
You might need a permit before beginning your basement project. Make sure to check local building codes and zoning requirements. Not following these codes could lead to fines or complications, and your home insurance may not cover any damage caused during the renovation.
Step 3: Address Moisture Issues
If you notice a musty smell, it could indicate excess moisture in your basement. Left unchecked, humidity can lead to major problems. To tackle this, first identify the source of moisture by placing a plastic sheet on the wall. Moisture on the inside means the issue is within your home, moisture on the outside points to external sources.
To control indoor moisture, ensure proper ventilation around dryers and humidifiers. If moisture is seeping in from outside, solutions like grading stormwater away from your home, installing drainage systems, and repairing cracks in the walls may help.
Step 4: Clean It Out
Before starting your project, clear out any items in your basement. Sort them into categories—keep, donate, or throw away—and make space for the work ahead. If you have no storage space in your home, consider renting a self-storage unit for temporary storage.
Step 5: Insulate the Walls
For a comfortable basement, insulation is crucial. Polystyrene foam board insulation is an easy and effective option. Here's how to install it:
- Measure the walls to determine how much insulation you will need.
- Use a utility knife to cut the foam insulation to fit.
- Apply construction adhesive to the back of the insulation and press firmly to eliminate gaps.
- Wait as per the instructions.
- Seal any gaps with caulking or sealant.
Step 6: Frame the Walls
Framing the walls gives your basement a more finished look and prepares it for drywall. To frame your basement:
- Plan the layout of your basement and gather materials.
- Cut the lumber to appropriate lengths.
- Secure pressure-treated lumber bottom plates to the concrete floor with concrete screws or anchors.
- Construct the wall frames on the basement floor, ensuring the corners are square.
- Lift the wall frames into position and secure them with masonry drills and nails.
Step 7: Install Drywall
Once the framing is complete, it is time to hang drywall. Here’s how:
- Measure the drywall pieces to fit the studs.
- Secure the drywall to the studs using drywall screws.
- Cover the seams with sheetrock tape and mud over the seams and screw heads.
- Sand the mudded areas before painting.
Step 8: Install the Ceiling
Next, you will need to tackle the ceiling. You can choose from a drop ceiling or a drywall ceiling, depending on your preference and the type of access you need to the space above.
- Drop Ceiling: Suspended from the existing ceiling structure, drop ceilings are easy to install and provide access to plumbing or electrical systems above.
- Drywall Ceiling: This option involves attaching drywall panels to ceiling joists. It’s more labor-intensive, but the result is a sleek, finished look.
Step 9: Finish the Floor
Install a subfloor to keep moisture out and provide warmth. Here’s how:
- Fill any dips in the floor with self-leveling compound.
- Attach polystyrene insulation to the cement floor with adhesive.
- Install plywood over the insulation and secure it with masonry screws.
- Install the flooring of your choice (carpet, tile, or hardwood).
Step 10: Decorate the Space
Now for the fun part—decorating your newly finished basement! Whether you create a home office, theater, gym, or game room, you can add furniture, lighting, and personal touches to make it your own. Depending on how you plan to use the space, you may need additional renovations, like soundproofing for a home theater.
FAQs
What is the hardest thing to do when finishing a basement?
The most challenging part of finishing a basement is ensuring structural integrity, insulation, and proper ventilation.
Can I finish a basement on my own?
While finishing a basement requires significant DIY experience, if you are comfortable with construction tasks, it can be done yourself.
What is the most expensive part of finishing a basement?
Labor costs for plumbing and electrical work often account for the most expensive part of a basement renovation.
How much value does a finished basement add?
A finished basement can increase your home’s value by up to 70%, providing extra living space that homebuyers find appealing.
Final Thoughts
Finishing your basement is an excellent way to add valuable living space and increase your home’s value. While the project may seem daunting, taking it step by step can help ensure its success. If you are looking for advice on remodeling or need recommendations, don’t hesitate to contact Scott and the Smolen Team for expert guidance! Whether you are considering a basement remodel or any other home improvement project, we are here to help you make the best decisions for your home.